
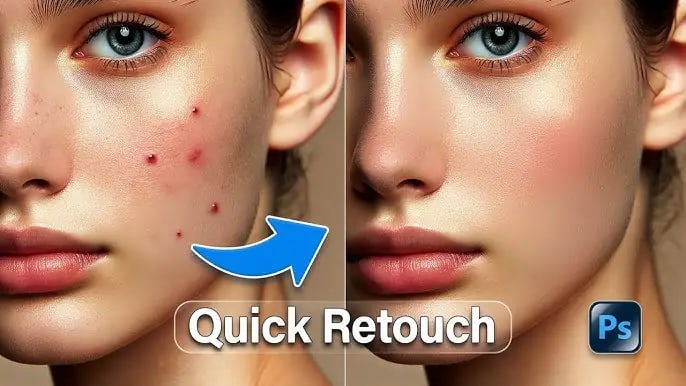
Photo Retouching Tutorial: Easy Step-by-Step Guide
Photo Retouching Tutorial: Easy Step-by-Step Guide for Beginners
A photo retouching tutorial shows you how to enhance images by correcting small flaws and improving overall appearance. You don’t need advanced skills to begin. With basic tools and a clear process, anyone can create polished photos for social media, websites, or personal projects.
What Is Photo Retouching?
Photo retouching is the process of refining an image after it has been captured. It involves tasks such as removing imperfections, adjusting colors, balancing lighting, and enhancing sharpness. A quality photo retouching tutorial focuses on subtle improvements rather than heavy edits.
Photo retouching is commonly used for:
- Portrait photography
- Product photography
- Social media visuals
- Business websites and online stores
Why Learn Photo Retouching?
Understanding photo retouching can be very useful for many reasons:
- Makes images look clean and professional
- Improves the visual quality of websites and social media posts
- Builds valuable creative and editing skills
- Helpful for freelancers and digital creators
- Increases audience trust and engagement
With a structured photo retouching tutorial, beginners can learn effective techniques in a short time.
Best Tools for Photo Retouching
Before starting any photo retouching tutorial, selecting the right software is important.
Adobe Photoshop
Adobe Photoshop is widely used for professional photo retouching. It includes powerful tools such as the healing brush, clone stamp, and layer masks.
Adobe Lightroom
Lightroom is beginner-friendly and works well for basic adjustments like exposure, color correction, and tone balancing.
GIMP
GIMP is a free image editing program that supports layers and essential retouching tools.
Mobile Editing Apps
Mobile apps such as Snapseed and Lightroom Mobile are useful for quick photo edits directly from a smartphone.
Photo Retouching Tutorial: Basic Steps
This photo retouching tutorial breaks the process into easy steps.
Step 1: Prepare the Image
Open the photo and duplicate the background layer. This allows you to edit safely without affecting the original image.
Step 2: Crop and Straighten
Remove unwanted areas and adjust alignment to improve composition and balance.
Step 3: Adjust Lighting and Colors
Correct brightness, contrast, highlights, and shadows. Fix white balance issues to ensure accurate colors.
Step 4: Remove Imperfections
Use spot healing or similar tools to clear dust, blemishes, and small distractions while keeping the image natural.
Step 5: Smooth Skin Gently
Apply minimal skin smoothing to maintain a realistic texture and natural appearance.
Step 6: Sharpen Key Details
Sharpen important areas such as eyes and edges. Avoid applying strong sharpening across the entire image.
Advanced Photo Retouching Tutorial Tips
After learning the basics, you can explore more advanced photo retouching methods.
Dodge and Burn
This technique adjusts light and shadow to add depth and shape, making subjects look more lifelike.
Frequency Separation
Frequency separation allows you to edit skin texture and color independently. It is often used in professional portrait retouching.
Color Grading
Color grading helps set the mood of a photo by adjusting tones, such as warm or cool color styles.
Background Cleanup
Remove unwanted background elements to keep attention on the main subject and improve overall image quality.
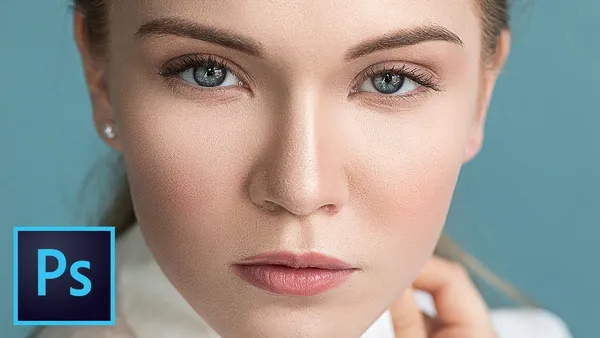
Photo Retouching Tutorial for Portraits
Portrait retouching requires a careful approach to keep results natural.
Helpful portrait retouching tips include:
- Preserve natural skin texture
- Avoid excessive blur
- Lightly enhance facial features
- Keep skin tones realistic
Product Photo Retouching Tips
For e-commerce and marketing, photo retouching improves product presentation.
Key steps include:
- Cleaning dust and minor scratches
- Adjusting colors to match the real product
- Enhancing edges and details
- Using simple and clean backgrounds
High-quality product images can improve customer confidence and sales.
Common Photo Retouching Mistakes
When following a photo retouching tutorial, avoid these common errors:
- Applying too much smoothing
- Overusing sharpening tools
- Creating unrealistic colors
- Relying heavily on filters
- Ignoring lighting consistency
Simple and balanced edits usually deliver the best results.
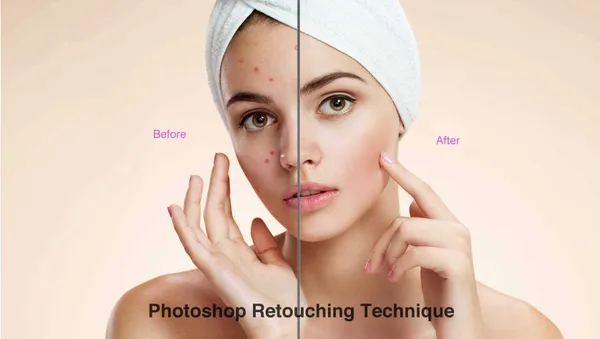
Best Workflow for Photo Retouching
Using a consistent workflow can save time and improve quality:
- Import the image
- Adjust light and color
- Remove spots and distractions
- Retouch important details
- Apply final color adjustments
- Export the finished image
Best Export Settings
After completing your photo retouching tutorial, choose the correct export options:
- JPEG for websites and social platforms
- PNG for transparent backgrounds
- High-quality formats for printing
- Compressed files for faster loading
SEO Benefits of Photo Retouching
Optimized and high-quality images support SEO by:
- Keeping visitors on the page longer
- Improving overall user experience
- Making content visually appealing
- Lowering bounce rates
Search engines tend to favor pages with strong visual quality.
Conclusion
This photo retouching tutorial provides a clear and beginner-friendly overview of image editing techniques. By applying these steps, you can enhance photos in a natural and professional way. Regular practice and simple adjustments will help you achieve better results.
Photo retouching is a useful skill for photographers, bloggers, and online businesses. Start applying these methods today to create visually appealing images.