
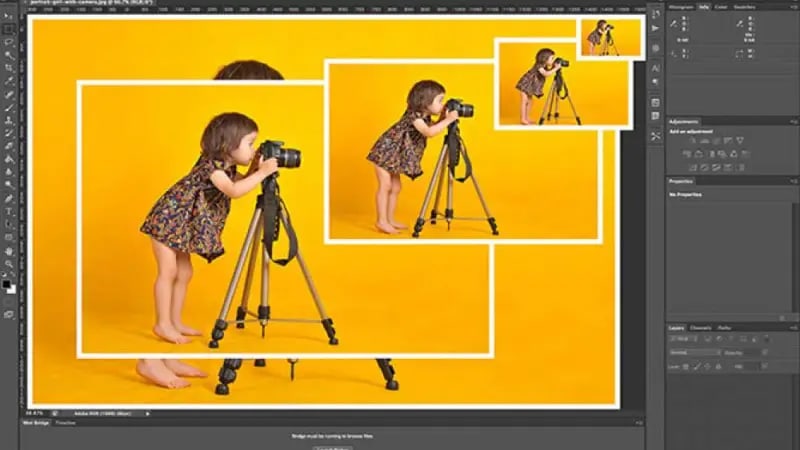
How to Resize an Image in Photoshop
How to resize an image in Photoshop? This is not difficult to do. But you have to keep in mind that there are some things that really affect the best size of a remake.
Resize an Image in Photoshop - Steps Guidelines ps
It includes 3 components:
Resolution
Limitations
Sample again
You may not be familiar with these terms so we will describe each of them and their effects on any type of image reshaped using any version of Photoshop tools.
But first, let's take a look at a sample image in Photoshop and see what its features can tell us.
We'll use a sample throughout this article to show you how everything in the Photoshop user interface works.
You open the image in Photoshop that you want to resize.
Click "Image" from the top of the window.
Then select "Image Size" (Alt + Ctrl + I)
You will see the following window. Lots of information available in this small window. First, you can preview the image and drag the preview with your mouse to see any part of the image.
If you want to keep the image ratio - and lock with height
Now you can change its value and it will automatically change the height value proportionally.
You can change the resolution value if necessary. (This is important for printing)
Put the sample "automatic" again.
Click "OK"
5 Methods to Crop Pictures
In digital image processing with Photoshop, clipping is one of the most frequently used work processes. Cropping means that image information that is not required, such as backgrounds or other objects, is removed from a picture or photo so that only the desired image elements remain after cropping. The practical application is very diverse and ranges from cropping products for product catalogs to cropping hair during image processing of portrait photos.
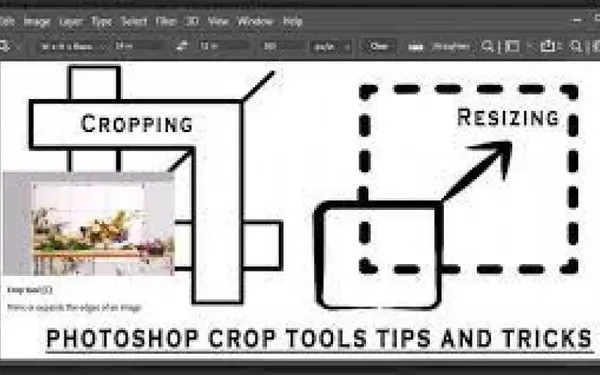
The methods for cropping objects that Photoshop offers are just as varied as the areas of application. True to the motto: Many roads lead to Rome. However, when selecting the appropriate method, there are a few things to consider in advance.
What is the picture like?
How exactly is the release supposed to be done?
how much time do you want to spend?
Because depending on the choice of method for cropping in Photoshop, the result can also be good or bad, quick or time-consuming.
Explanation of terms
Cutout
A cutout is an isolated object with a transparent background. If there is one clipping on several image layers, the image in Photoshop has several clippings.
Layer
During processing in Photoshop, an image can consist of several image layers lying on top of each other with different image information. Photoshop creates a new layer automatically when image areas are copied (Ctrl+C/CMD-C) and pasted again (Ctrl+V/CMD-V).
Selection
Designates the form in which an object is to be cut out or released. You remove a selection with (Ctrl+D/CMD-D). You can invert a selection with (Shift+Alt+I/Shift+CMD+I).
Soft edge
Describes the contrast strength of the cut edge around the object or for cutting out.
Mask
Designates a covered or faded-out image area around the clipping in Photoshop and is generated by alpha channels.
Crop with the selection tools
A simple geometric selection can be made in Photoshop using one of the selection tools in Photoshop. Such a selection can be either rectangular or oval.
If you want to cut out an image element in Photoshop in a rectangular way, all you have to do is select the selection rectangle tool in the toolbar and draw a selection while holding down the mouse button. Then copy and paste the selection. In the layers window (F7) you will now find a layer with the original and a layer with the cutout as a copy. Finally, delete the background layer if you no longer need it.
Crop with the magic wand
The magic wand can be used in Photoshop for cropping when the image is relatively poor in detail or has large areas of color. Why? If you click on an image with the magic wand, it first measures the color value at this point in the image and creates a selection around all surrounding regions with the same or similar color for cropping. The accuracy of the magic wand can also be corrected in the options bar. However, you should not expect miracles from this method and only use it if a selection has to be made quickly and something may be imprecise.
Options bar of selection tools in Photoshop
Tip: If you have already selected cropping, you can expand your selection by pressing Shift and adding more areas to the selection.
Crop images with quick selection
As the name suggests, the Quick Selection tool is useful for making selections in Photoshop fairly quickly. Similar to the magic wand, the quick selection tool includes areas of an image with similar color values in the selection.
The quick selection uses the brush tool as a tool and can be operated with the support of a graphics tablet since the quick selection reacts to the pen pressure and a detailed but also large-area selection can be created in Photoshop.
Crop objects with the pen tool
The pen tool is useful in Photoshop for freeing up objects with clear outlines. These can be buildings or product photographs, for example. This method enables images to be cropped more precisely since a work path is first created around the image to be cropped.
Select the pen tool from the tool palette and first create a working path by placing one path anchor at a time around the entire object up to the starting point. Make sure that the entire working path is also closed towards the end. If your object has curves, it doesn't make sense to reproduce the curve with as many path anchors as possible.
You can easily create a working path around curves by holding down the mouse button and dragging the editing points of the path anchor and adjusting the path of the curve. Once you have created the working path, you will find the previously created working path in the Paths palette window. From the Palettes option in the window, select the option to create a selection. Now the image can be cut out in Photoshop with the help of the selection and all unwanted elements can be removed.
The Lasso, Magnetic Lasso Tool
and Polygonal Lasso
The lasso tools are another tool to create a clipping in Photoshop. They all work similarly to the methods listed previously. You either measure a color value and create a selection based on it, or you simply move the mouse button over the edges of the clipping.
Conclusion
Photoshop puts a lot of tools and methods at your fingertips to free up images. Be it with the Magic Wand tool or with Working Paths. The quality of the image and the accuracy of the clipping determine the selection of the appropriate method.
Cropping / Resizing / Image Re-sizing / Cropping / Positioning
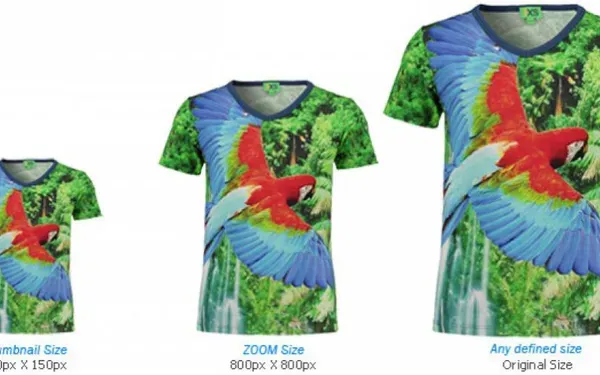
Cropping is the process of removing the outer part/field of an imaging aid to enhance framing, improve the overall composition, highlight the subject, or correct the aspect ratio (image size or dimensions). Simply put, we can say that cropping an image simply means removing or trimming the edges.
Also, it has a prominent feature for solving problem-solving. Notable information about cropping and resizing is that it can trim or resize the image without having to resize or trim the image.
Anyone can wonder why they need crops? Cropping and resizing is necessary to provide a pleasing frame (composition), and to change the relative position of any direction in the picture. Resizing image work is a helpful ability, in some cases, you will need more control over how to reduce the image size.
The crop image option enables you to move any part of the image or resize the image without the images in the image.
Resolution is the amount of direction of an image. It is measured by the number of dots or pixels per inch. One is called DPIO. A print task requires a higher resolution than looking at a photo/image on a computer monitor or screen.